Follow me on facebook

Showing posts with label snacks. Show all posts

Saturday, February 1, 2014

Focaccia caprese / Rosemary and onion focaccia

Focaccia is the bread, I always wanted to make since I started baking. It is said to be a very easy one, and one of the very first bread, you should try when you start learning bread baking. I am learning to bake a bread a month, since I joined +Aparna Balasubramanian 's bread baking group and this is the bread we are baking in January 2014. Focaccia is kind of a flat bread which originated in Greece, though it is made in different ways in different parts of Italy. There is even a sweet version.

Focaccia Caprese

Rosemary and Onion focaccia


It looks similar to a pizza, some of the differences are that focaccia is usually has a thicker and more spongier crust and pizza has a thinner and crispier one. Focaccia is usually topped with herbs, oil and garlic and pizza has different toppings. Focaccia is served warm or at room temperature and pizza is generally served hot, right off the oven... well, that's the trivia and more about it here.....:)


I made Focaccia Caprese, a version of focaccia made in the Capri region of Italy. The toppings used for this version of focaccia are tomatoes, fresh basil and buffalo mozzarella cheese. I also had some fresh rosemary leaves, so I made another one with the topping of herbed oil, rosemary and onions. Both, versions of bread were very tasty and were gobbled down by all of us in matter of minutes. I served it with "Couscous and chickpea salad" and it was a wonderful meal. Recipe adapted from "The kitchen whisperer


Ingredients:

For the dough:

  • 2 tsp instant yeast
  • 1 and 1/2 tbsp of sugar
  • 3 and 1/2 cups of bread flour(I used regular all purpose flour)
  • 1 tsp salt
  • 1/4 cup olive oil
  • 1 to 1 and 1/2 cup warm water
  • A little more olive oil to knead and brush on the dough (1-3 tsps)

For the herbed oil:

  • 1/4 cup olive oil
  • 1 tbsp of mixed dried italian herbs like dried basil, oregano, etc
  • 3-4 garlic cloves grated
  • 1 tsp red chili flakes
  • 1/2 tsp salt

For the topping:

  • 2 tomatoes cut in thin slices
  • buffalo mozzarella cheese cut to disks(I used the regular mozzarella)
  • fresh basil leaves to garnish
  • 2 sprigs rosemary
  • 1 onion cut to discs, or chopped to thin long slices and separated.


Recipe:

  • Grate the garlic and whisk all the ingredients for herbed oil together and keep it aside.


  • You can make the dough with hand or by machine.
  • Take the flour, sugar, salt, yeast, and oil in a food processor or a large bowl.

  • Mix them well, with hands or a whizz in the machine for about 30-40 seconds.
  • Add water and continue mixing, till it comes together as a non sticky dough.
  • Take it out in a well oiled bowl and knead with hands for about 2-3 minutes till it comes together as a smooth ball of dough. 

  • Keep it aside, covered with a plastic wrap or kitchen towel till it doubles up in volume. It will take about an hour or hour and half.

  • I used a rectangular pan 22 cm by 18 cm and a square pan with 20 cm sides.
  • Divide the dough according to the size of the pan u use. I divided the dough in 3 parts.

  • Oil the pan and stretch the dough by patting it. Top with a tsp of olive oil and keep it to rise for another 20-30 minutes.

  • Make some dents/dimples on the surface of the dough with your finger and pour about 2-3 tsp of herbed oil on top of the dough.
  • Bake it for 18-20 minutes in a preheated oven at 210 degrees centigrade.
  • Take the focaccia out when the top is golden.

  • Get the ingredients ready for topping. Slice tomatoes and cheese to thin slices. Wash and clean the basil and rosemary. Chop the onions.

  • Layer mozzarella slices, tomatoes, rosemary and onions and top with more herbed oil. 


  • Increase the oven temperature to 230 degrees and bake for another 5 minutes till the mozzarella is melted and the top is golden brown.


  • Serve cut into slices or squares warm or at room temperature.


Quantity:

  • about 3 focaccia breads... 2 of 22cm*18cm and 1 square pan size of 20 cm.
  • serves 4 people along with a side comfortably.


Notes:

  • You can make 4 small individual serving breads. Divide the dough into 4 equal portions are roll them(press them) to 5 by 7 inch ovals.
  • Cut them out in squares or slices for easy "pick me up" snack.


Thursday, October 17, 2013

Chili Chicken

This is our favorite recipe, to be made anytime. If I ask my son, what shall I make for dinner or lunch, he would say "chili chicken" or "grilled salmon". I make this recipe, so many times.... usually, in a rush at last minute, so never had time to properly photograph it. I had photographed this, long time back and I did not like the pictures, so I want to do it again sometime, but as I said, I always make it in a hurry.... so if I make it in leisure, will try to take better photographs for this recipe. 


Ingredients:

  • about 400 gms chicken fillets( or breasts)
  • 1 red  and 1 green capsicum
  • 1 red onion
  • 7 garlic flakes
  • 1 inch piece of ginger
  • 3 green chilies
  • 1 red chili
  • 2 tbsps dark soy sauce
  • 2 -3 tsp vinegar
  • salt and pepper to taste
  • 1 tbsp oil
  • 1/2 tsp of ajinomoto( msg-- optional)
  • a bunch of spring onions chopped for garnish


Recipe:

  • Wash and clean the chicken. Pat it dry with kitchen paper. Chop into 1/2 inch pieces.
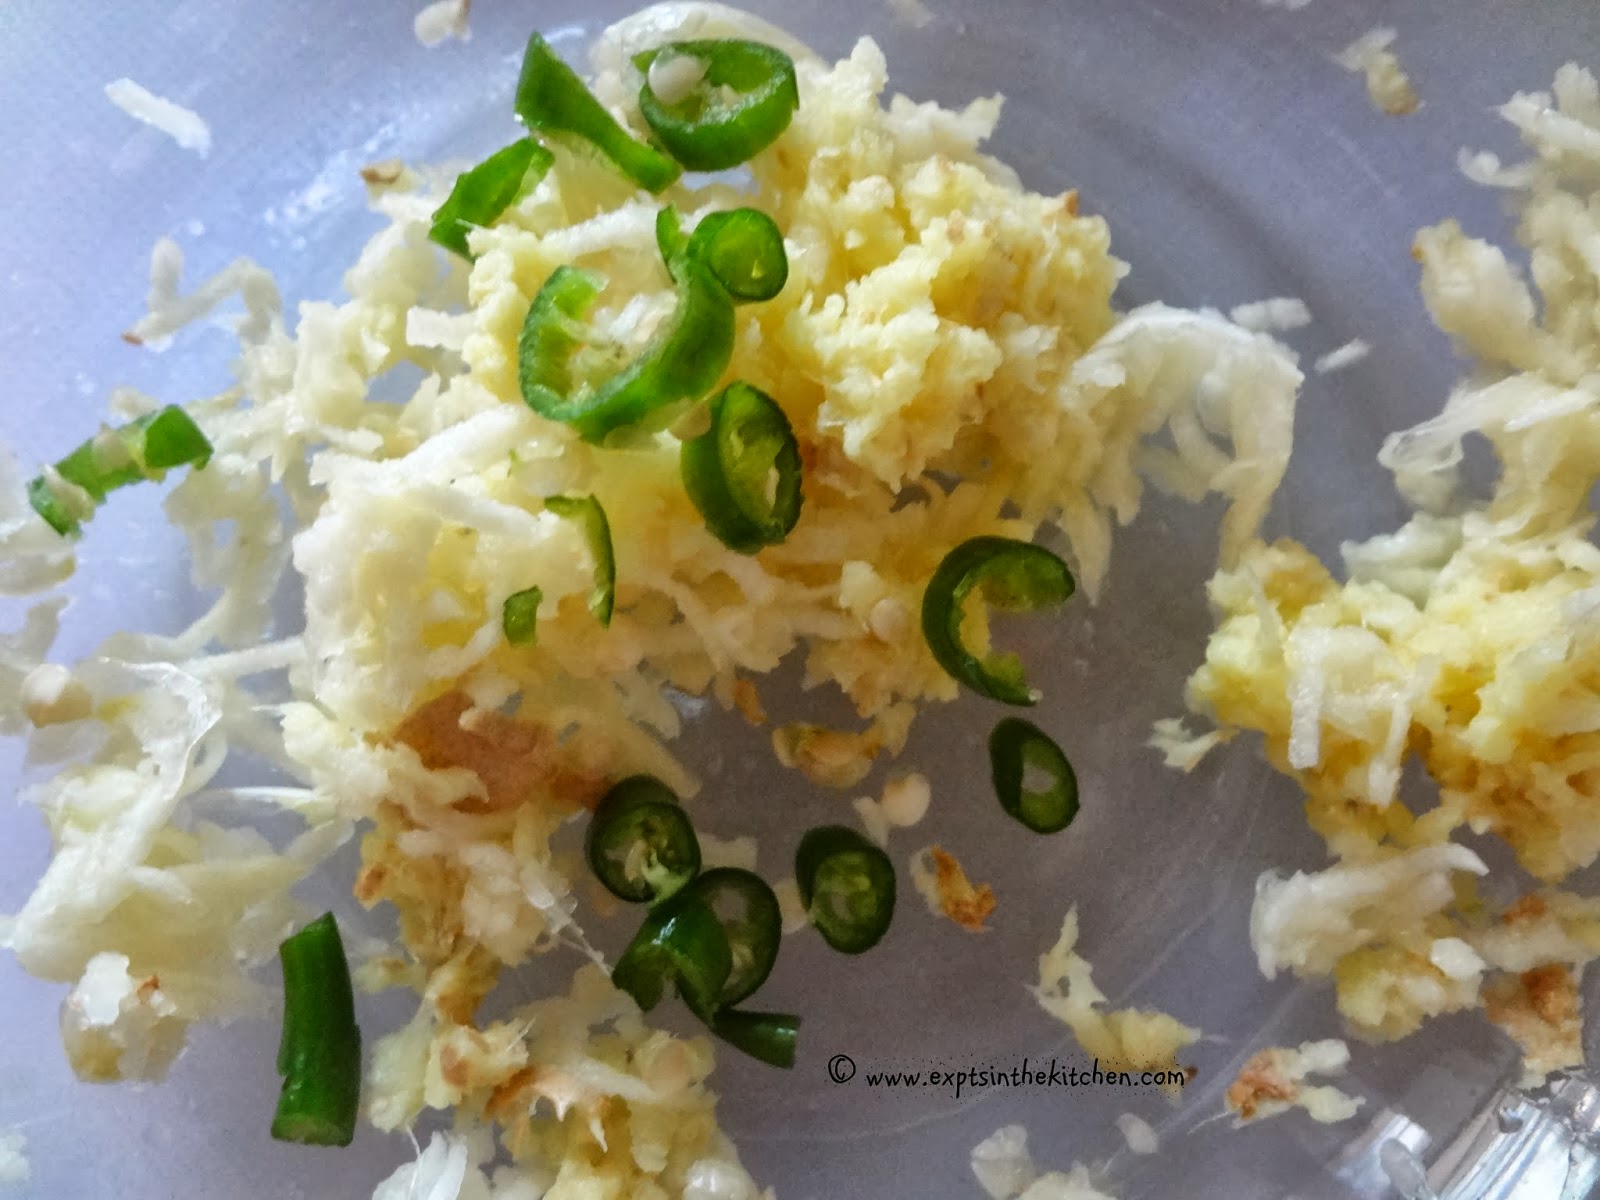
  • Grate 4 garlic cloves and ginger, chop 2 chilies and keep them in a bowl.

  • Add 1 tbsp soy sauce and 1 tsp vinegar and mix well.

  • Add chicken pieces to this marinade. Add about 1/2 a tsp of salt and 1 tsp of freshly pounded black pepper.
  • Keep it aside covered with cling wrap in a refrigerator for about 1 hour ...to even 24 hours(1 day)

  • Mince the remaining 3 pieces of garlic, 1 green and red chili, onions and capsicums.

  • Heat a tbsp of oil in a pan. 

  • Add garlic, chilies and stir-fry on high for 30 secs.

  • Add onion, stir-fry again for a minute.

  • Add the capsicum, stir-fry for 2 minutes.

  • Add another tbsp of soy sauce and 1 to 2 tsp of vinegar.

  • Add marinated chicken. Lower the heat to medium and stir-fry .....for 3-5 minutes till the chicken is cooked. 


  • Serve hot, garnished with spring onions as an accompaniment with rice or just as is ....if it's a snack or an appetizer.


Quantity:

  • 3-5 servings with rice/other curry or 2-3 servings as an appetizer

Notes:

  • The chicken requires only 4-5 minutes to cook, if they are in small bite size pieces.
  • If u get chicken shreds,(like I have got, in the picture) that means, it's slightly over cooked. You need to get a  nice even brownish coating. A tip, I recently learnt about cooking chicken from my friend Lakshmi. However, this chicken is delicious, even if it is slightly overcooked.
  • You can make it a day ahead... or marinate longer to get maximum flavor.
  • Msg can be added after sauteing the onions, before adding capsicum. It gives good flavor to the chicken. 
  • You can also add a chicken stock cube in the end and some water and corn flour to make a gravy.
  • The number of chilis and flavorings, I use..will make it a mildly spicy chicken. Do increase the number of chilies for a fiery taste..... :) Adjust the quantity of soy sauce, vinegar and salt and pepper accordingly.
  • For vegetarian version of this recipe -- Try out the chili paneer recipe here....:)


  •  You can make similar recipe with boiled eggs.


Thursday, February 7, 2013

Bread-maki

"Makizushi" is a type of sushi. Japanese cuisine is one of my favorite cuisines after Indian. Japanese cuisine is very attractive visually.  Maki is a roll made with  bunch of fillings over rice, which is stuck over sea-weed rolled with the help of a bamboo mat called "makisu". More about sushi and maki roll here.

This post is about a snack item inspired from the Japanese Maki roll, I make for my kids for their school lunch boxes or evening snacks. Very easy to prepare and quick. All you need is some bread slices, some raw vegetables, some cheese, etc...any filling of your choice.


Wednesday, February 6, 2013

Grilled Tandoori Potatoes with Mint Chutney

Blogging is interesting. I planned to make mint chutney today. Due to this new blogging hobby, i thought, i will make a post about it... :)  Mint chutney goes well with so many things, especially Indian street food..."the chaats". However, chaats require a lot of ingredients which i din't have. I had baby potatoes and fresh mint and coriander. One of my friend's, Hemali had posted a super delicious picture of Alu Chaat, I wanted something like that.... !!


 Here is how i made it....!!